POS (Proof of Stake) Mining
POS interest: 25% per year
Stake Min age: 8 hours
Stake Max age: unlimited
How To Stake?
1. Download your favorite wallet (Windows/Linux)
(Info: WebWallet and MobileWallet do NOT offer staking)
2. Unpack your wallet executable and save it a a proper place. Then place a link on the desktop.
(e.g. in Windows this is done by right-clicking on file and choosing “Send To” -> “Desktop”)
3. Start the wallet by clicking the desktop link. Then follow the steps below:
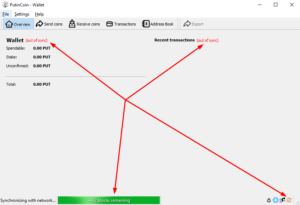
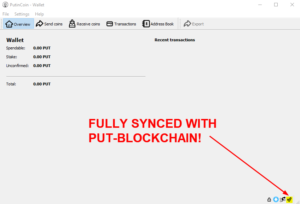
As soon as the wallet has fully started, you see the following screen. Before the wallet can be used, it needs to synchronize with the PUT-blockchain, which you can see by the “(out of sync)” alerts, the green progress bar (where you can see, how much of the chain has already been synced) and the rotating “refresh-arrows” in the right bottom corner. The sync will normally take about 24 hours. During this time, your computer and the wallet must not be turned off.
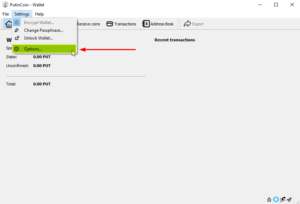
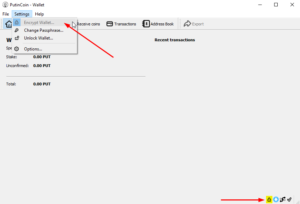
The next step is VERY IMPORTANT for the security of your PUTinCoins! Please go to “Settings”->”Encrypt Wallet…” and you will be asked to set a password to protect your funds. Please be CAREFUL when setting the password. Choose a password you can remember or safe it in a “password safe”-app. IF YOU FORGET YOUR PASSWORD, YOU WILL NEVER BE ABLE TO ACCESS YOUR PUTinCoins AGAIN!! After you set the password and clicked “Ok” you will be again asked if you want to encrypt the wallet. Confirm this and your wallet will be restarted. After restart, you will see a lock sign in the bottom right corner, which tells you, that the wallet is securely encrypted.
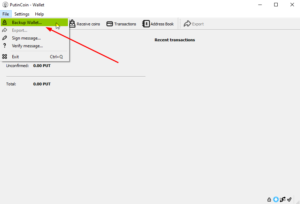
The last and most important step is to BACKUP YOUR WALLET! For doing this, please go to “File”->”Backup Wallet…” and after clicking choose the name “wallet.dat” (the .dat – Extension should be added automatically, so you just need to set the file name “wallet”). Save this “wallet.dat” file to a secure place like an USB-Stick and/or burn it on CD (we would recommend to store at least 3 copies of the “wallet.dat” file to different data media and keep them at different, secure locations.
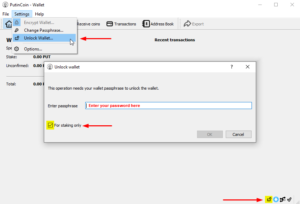
Now that you have securely set up your wallet and already received some PUTinCoins on it, you can start staking your coins. For doing this you need to go to “Settings”->”Unlock Wallet…” and take care, that “For staking only” has been checked (it should be checked automatically). Enter your password, click ok (the lock sign in the bottom right corner will turn open) and minimize your wallet. After 8 hours your PUTinCoins become “mature” and will start staking new coins.


